 Review Us!
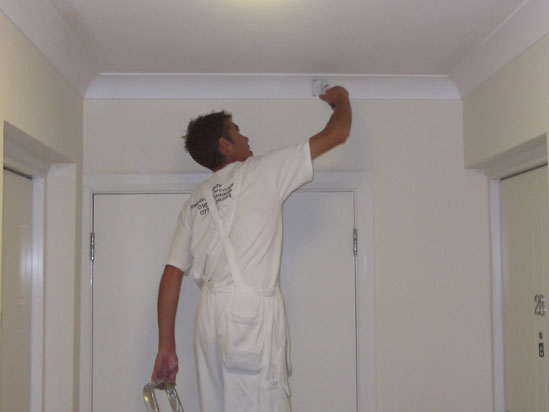
As with many DIY tasks one of the most important parts of the paining process – and typically one of the most ignored – is preparation. In this case preparation of the wall surface prior to painting. It can make a huge difference in the finish you are able to achieve, and also significantly reduce the amount of time you spend painting. Here are our top 3 tips to preparing your walls before you start.
1 – Sand down for a smooth finish
Sanding your walls isn’t just about making a smoother finish to the surface – it actually roughens up the surface as well. The tiny abrasions caused by the sander – usually too small to easily be seen, give the paint something to hold on to. Use a fain grade sand paper for best results – course papers may leave a surface which is too rough. When you are happy with the finish then make sure that you clean up every bit of loose dust. Brush down the wall and vacuum up as much as you can. Dust left on the walls, or even on the floor which might be disturbed, will effect your finish if it gets into your paint.
2 – Wash your walls!
Grease and dirt contaminates fresh paint which interferes with its performance. It may alter the final colour to something slightly off what you want, cause discolouration in patches, or even prevent the paint from sticking. Wash your walls in the same way that you wash dishes – warm soapy water to start with and then rinse off with clean water. Sugar soap is a good product to use – it can get rid of tougher grease marks such as crayon marks.
3 – Use a primer
Because a primer is not always needed then it can be disregarded inappropriately. If your wall is clean, smooth and good for painting then you may bypass the use of a primer. If however you have persistent stains, colouration or patches on your wall then using a primer can save a lot of time and hard work. Specialist primers are specifically made to create a good painting surface and so if you think you are taking a short-cut by not using one then you may be disappointed. Freshly plastered walls almost always require priming and will reduce the number of coats of finish required, saving time and money. There are many different types of primer so make sure you pick the right one, both for the surface being used, and for the final colour which will be applied. While primers for a white final finish – dark primers for dark finishes.
